
So I’m working on the Charity Tree project again, which I began chronicling in this post, and am picking up where I left off, with user interface design.
I’ve recently come across a fantastic UI prototyping tool called Indigo Studio and am absolutely loving it. I encourage you to try it out. The screenshots in this post were created with this tool, and there are actually interactions wired up as well that you would see if you were viewing them from within the software.
If you’ve read my previous articles in this series, you will remember that one of my main goals is to keep the interface as simple as possible. Matching donors with clients has always been by sticking point, and I think I’ve finally nailed it. As you will see below, there are no more concepts of combination client/donor screens. You simply pick the entity you want to work with, then go search for a match. I think this approach has really simplified things.
So let’s walk through the current state of the UI prototype and I’ll commentate a little on some of the functionality.
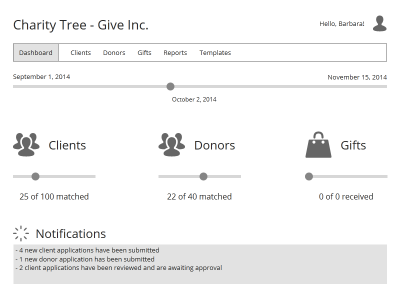
Program Manager’s Dashboard

This is the screen that the program manager, my term for the overall person in charge of running the charity program, would see after logging in. My goal here is provide an at-a-glance view of the current state of the program.
Client Listing
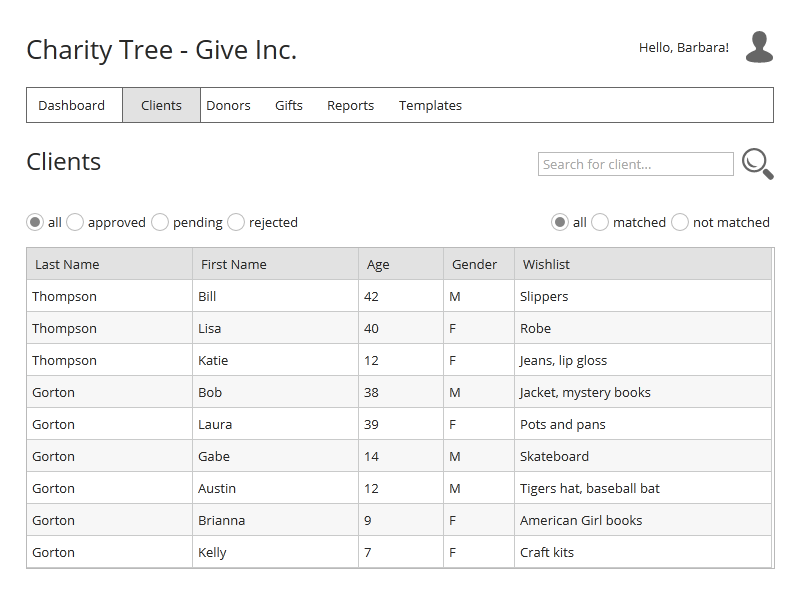
The listing screens are probably the most uninteresting of the lot, but again, I created a screen that allows you to quickly get where you need to go without a billion options. Let’s click one of the “Gorton” rows.
Client Detail
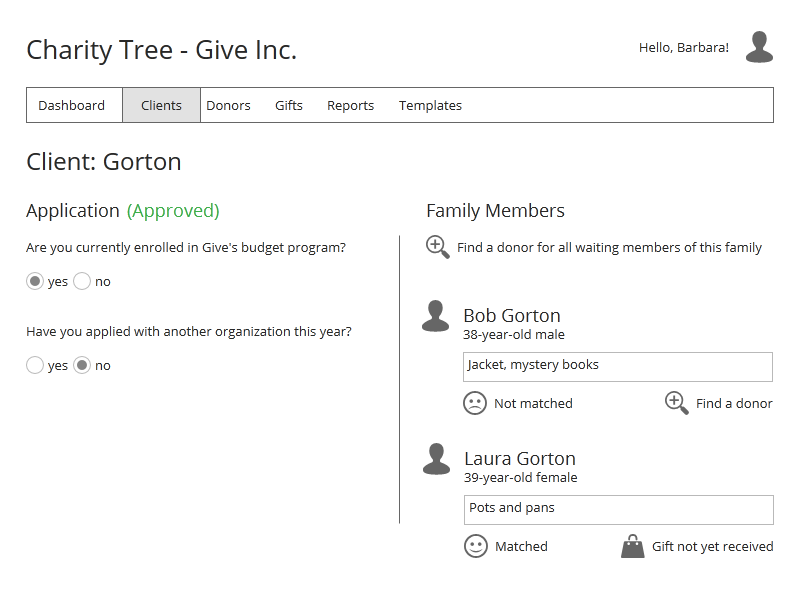
Here we are looking at a client application that has been submitted, including multiple family members. The lower portion of the screen is divided with the general client application data on the left and the family member data on the right. Both sections are scrollable.
The client application can be reviewed here, and it can be approved or rejected by clicking the status next to Application.
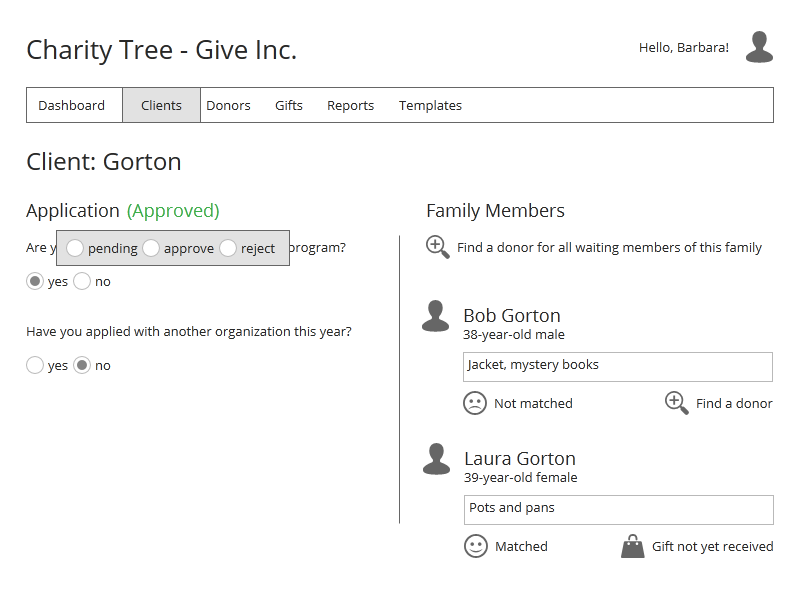
Finding a Donor
Let’s find a donor for this client. You can see on the right-side of the screen that we can find a donor for all of the family members at one time, by clicking “Find a donor for all waiting members of this family”, or find a donor for just one of the family members by clicking “Find a donor” beneath the desired member. Let’s click the “all waiting members” link.
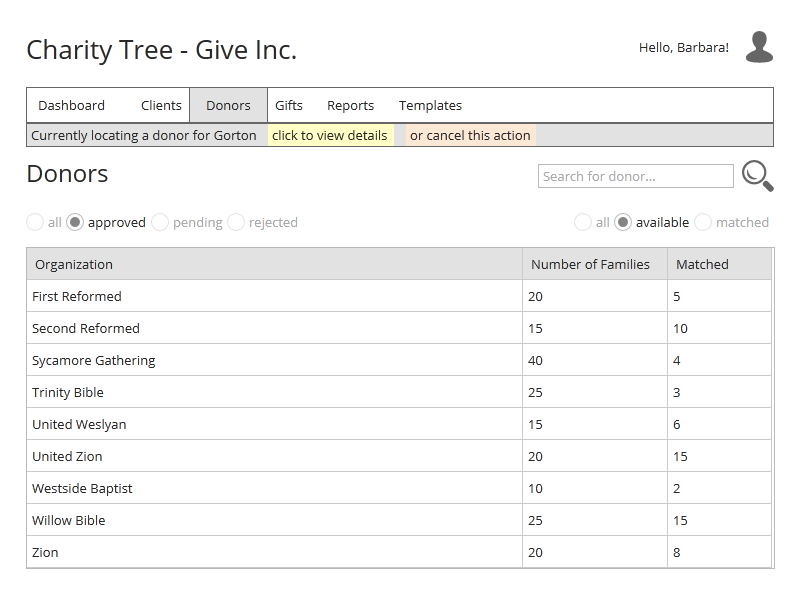
We are brought to the donor listing screen and notice at the top how the app is now expecting you to locate a donor for the Gorton family. Let’s select the Sycamore Gathering organization. You can see that they would like to donate to 40 families, but only 4 have been assigned so far. Clicking them brings us to the donor detail screen.
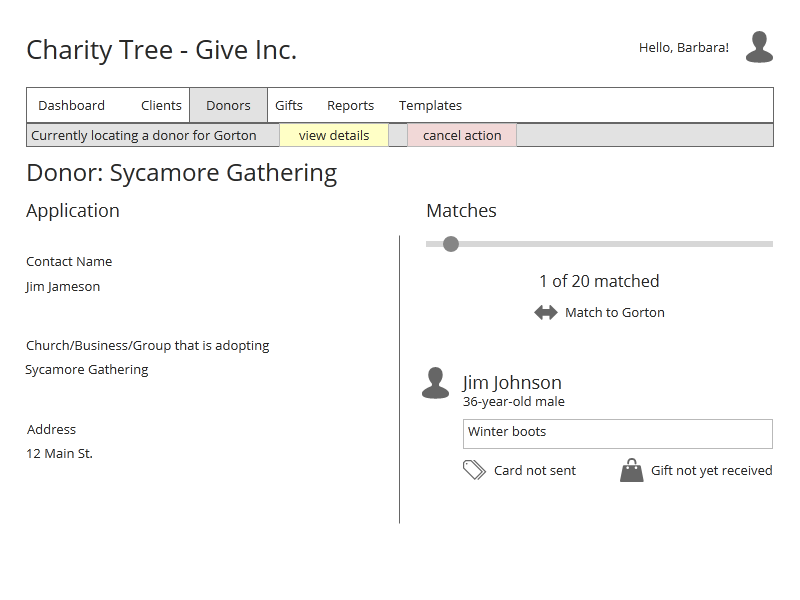
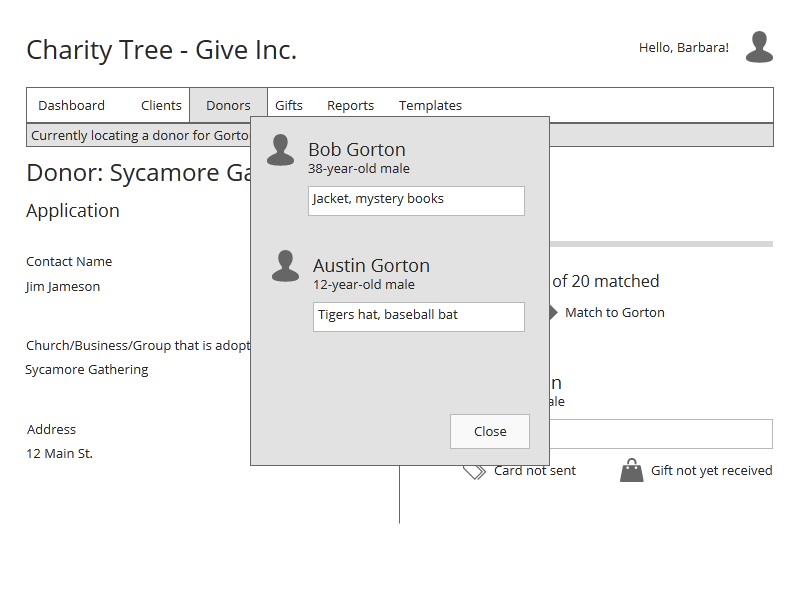
You can see we still have the message at the top of the screen telling us that we are still in “match” mode. Also, on the right side of the screen you can see we have the option of matching the Gorton family to this donor. If we forgot some of the details of the Gorton family, we can click the “view details” link at the top of the page.
So let’s say we are satisfied with our selections and make the match by clicking on the “Match to Gorton” link.
![]()
Notice the notification of the successful match at the top of the screen and the increase in the match total at the right of the screen.
Conclusion
I’ve detailed out several other button clicks and a few other screen state changes but we’ll stop for now as I think you’ve probably got the idea of how this app is going to work. If you’d like to view all of the screens, you can download the zip file here.
If you have Indigo Studio, you can download my project file and check out all of the screens so far and some of the screen interactions.
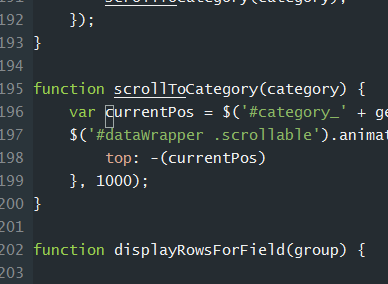
So I’m pretty excited about the direction this is taking and I’m feeling good about starting to cut some code. More on that later!
Articles in this series: